Gaming
The Ultimate Guide to Building Your First Gaming PC: Tips & Tricks for Success

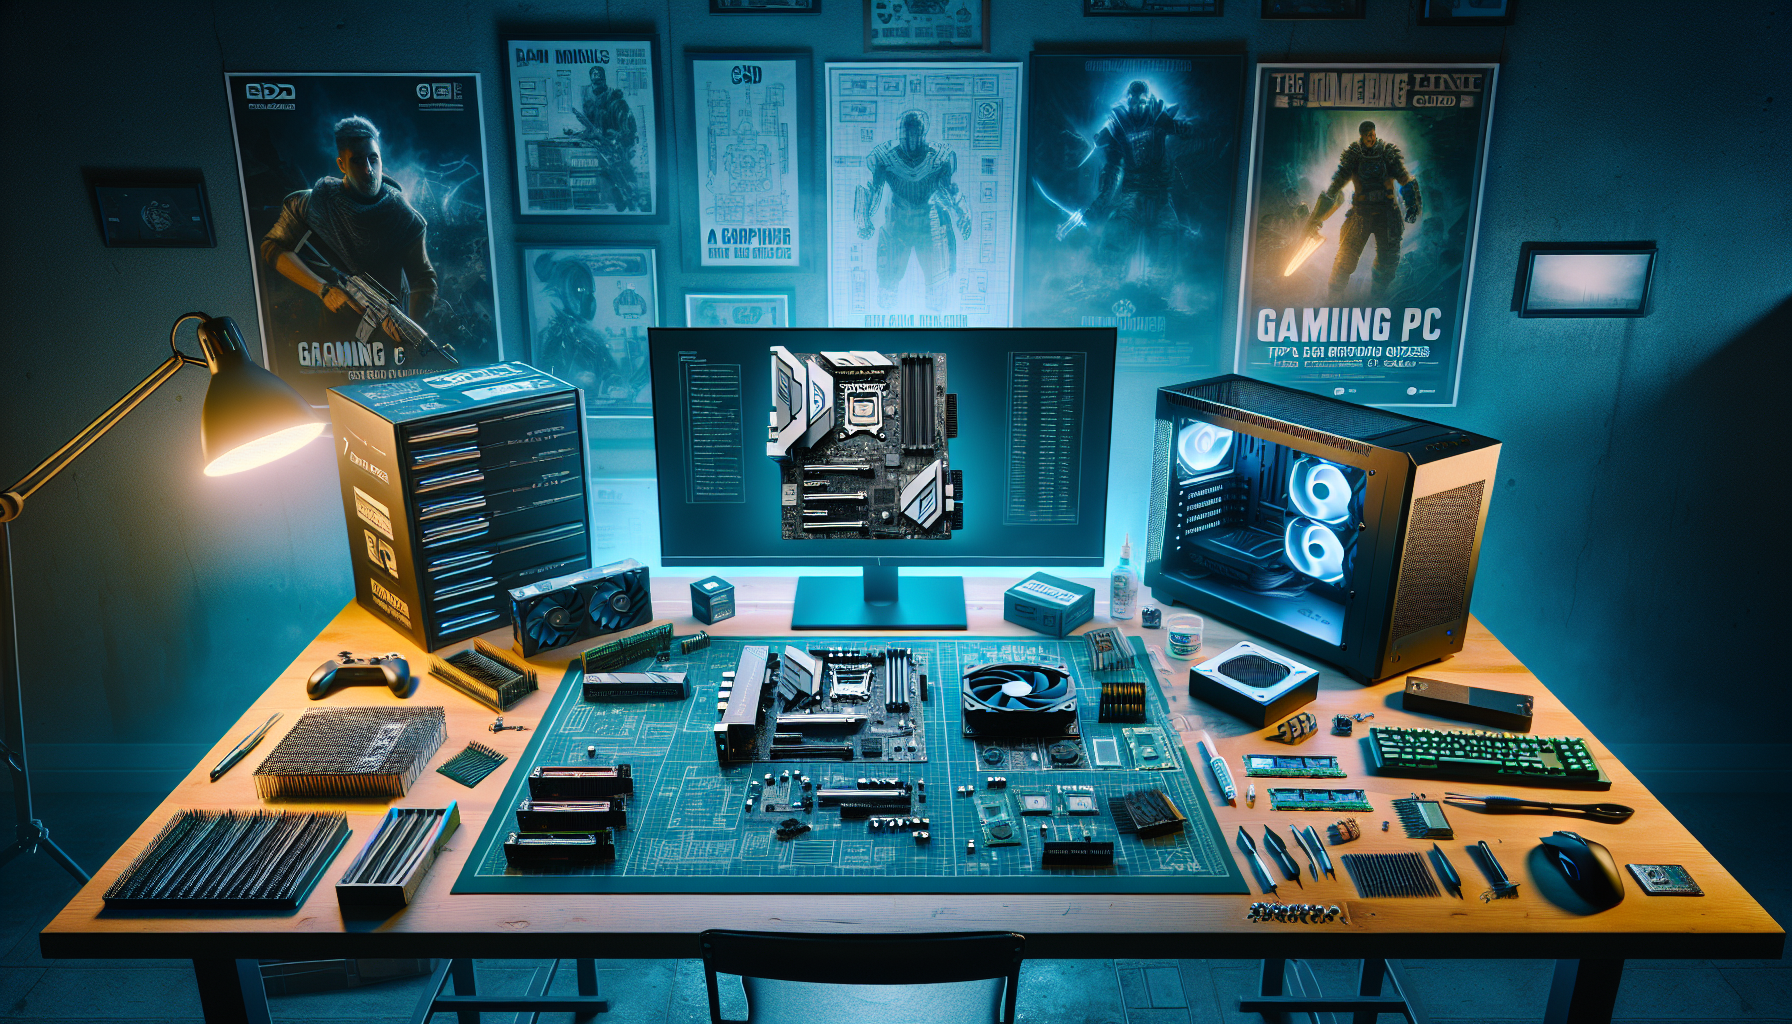
Dreaming of building your very own gaming PC? You’re not alone! With the gaming industry booming like never before, constructing a custom rig has become a right of passage for many players. This ultimate guide is your go-to resource for turning that dream into reality. Let’s put on our gamer hats and dive into some tips and tricks to ensure your first build is a success!
Why Build Your Own Gaming PC?
Building your own computer might feel daunting, but the benefits are totally worth it. Here’s why you might want to take the plunge:
- Customization: Choose every component to fit your preferences—from the processor speed to RGB lighting.
- Cost-Effective: Often, building your own PC is cheaper than buying pre-built machines.
- Learning Experience: Gain valuable tech knowledge that makes troubleshooting easier in the future.
- Upgrade Flexibility: Easily swap out parts down the line to keep your performance on par with the latest games.
Getting Started: What You’ll Need
Essential Components
Before you jump into assembly, let’s, first, get familiar with the components you’ll need:
- Central Processing Unit (CPU): The brain of your computer.
- Graphics Processing Unit (GPU): Crucial for gaming performance; this is where the magic happens!
- Motherboard: Acts as the backbone connecting all your components.
- Memory (RAM): Allows your CPU and GPU to operate effectively.
- Storage Options: SSDs for speed and HDDs for extra space.
- Power Supply Unit (PSU): Powers the whole system.
- Case: Houses your components and affects airflow.
- Cooling System: Essential to keep everything running smoothly and prevent overheating.
Tools You’ll Need
- A Phillips screwdriver (a magnetic one is super handy!)
- Anti-static wrist strap (optional but recommended)
- Cable ties for neat management
Planning Your Build
Budgeting
Start by figuring out how much you’re willing to spend. Keep in mind that gaming PCs can range widely in price, depending on the quality of components. You might consider using a budget calculator (like this one from Tom’s Hardware) to help guide your choices.
Research and Compatibility
Not all parts are created equal. Before you start adding things to your cart, make sure everything is compatible. You wouldn’t want to be stuck with a motherboard that can’t fit your GPU, right?
- Use websites like PCPartPicker to check compatibility and browse options.
- Read reviews! Sites like TechRadar or AnandTech provide insights on the best current components.
Assembly Day: Putting It All Together
Once you have everything you need, it’s time for the big day. Here’s a step-by-step breakdown of how to assemble your gaming PC:
Step 1: Prepare Your Workspace
- Choose a large, clean area with good lighting.
- Lay out all your components, manuals, and tools.
Step 2: Install the CPU and Cooler
- Open the CPU socket on the motherboard.
- Carefully insert the CPU, making sure the notches line up.
- Attach the cooler as per the instructions. This step is crucial to maintain optimal temperatures.
Step 3: Install RAM and GPU
- Slot the RAM into its designated spots on the motherboard.
- Insert the GPU into the PCIe slot and secure it with screws.
Step 4: Attach the Motherboard
- Place the motherboard into the case, aligning it with the standoffs.
- Secure it with screws.
Step 5: Install the Power Supply
- Place the PSU in its designated area in the case.
- Route the necessary cables, being mindful of airflow.
Step 6: Connect Everything
- Attach all power cables to the motherboard, GPU, and drives.
- Connect storage devices—SSD and HDD—ensuring they’re set up for easy access in Windows.
Step 7: Final Touches
- Make sure all cables are tidy (cable ties are your friends here).
- Check that everything is secure; loose connections can lead to disaster!
Step 8: Boot Up!
Once everything is set up, it’s time to turn it on! If you did everything right, your system should boot up and prompt you to install an operating system.
After the Build: Troubleshooting and Optimization
If things don’t work as planned, don’t freak out! Here are some common fixes:
- No Power: Check PSU connections.
- No Display: Re-seat GPU or check monitor connections.
- Overheating: Ensure fans are properly connected.
For optimization tips, check out our article on Maximizing Your Gaming Performance.
Conclusion: Mission Accomplished!
Building your own gaming PC is not only a fun project; it’s also a fulfilling way to ensure you have a machine that meets all your gaming needs. With dedication, research, and a little elbow grease, you can build a rig that’s uniquely yours.
Now that you’ve got the ultimate guide in your hands, it’s time to hit that “buy” button and start your journey. Happy gaming!
Meta-Description
Ready to build your first gaming PC? Our ultimate guide covers everything from essential components to assembly tips—making it simple and fun to create your dream setup.
-

 News21 hours ago
Teenage US Citizen Records Brutal Arrest by Immigration Agents Who Told Him, ‘You Have No Rights’
-
News20 hours ago
Maltese Police Officers Participate in Operation in the Black Sea
-

 Business21 hours ago
Navigating the Economic Landscape: Key Insights from Today’s Business Headlines
-

 News19 hours ago
“Honoring Ukraine: A Tribute” (July 26, 2025) — dynamo.kiev.ua
-

 Business18 hours ago
The Top 10 Business Opportunities to Watch in 2025
-

 Business20 hours ago
Navigating the Shifting Sands: Key Global Economic Trends for 2024
-

 Entertainment21 hours ago
Cinematic Success: Fun Facts About Movies That Shaped the Film Industry
-

 News18 hours ago
EnviMin Showcases Vacaresti Natural Park to Her German Counterpart
