Entertainment
How to draw books in 10 easy steps

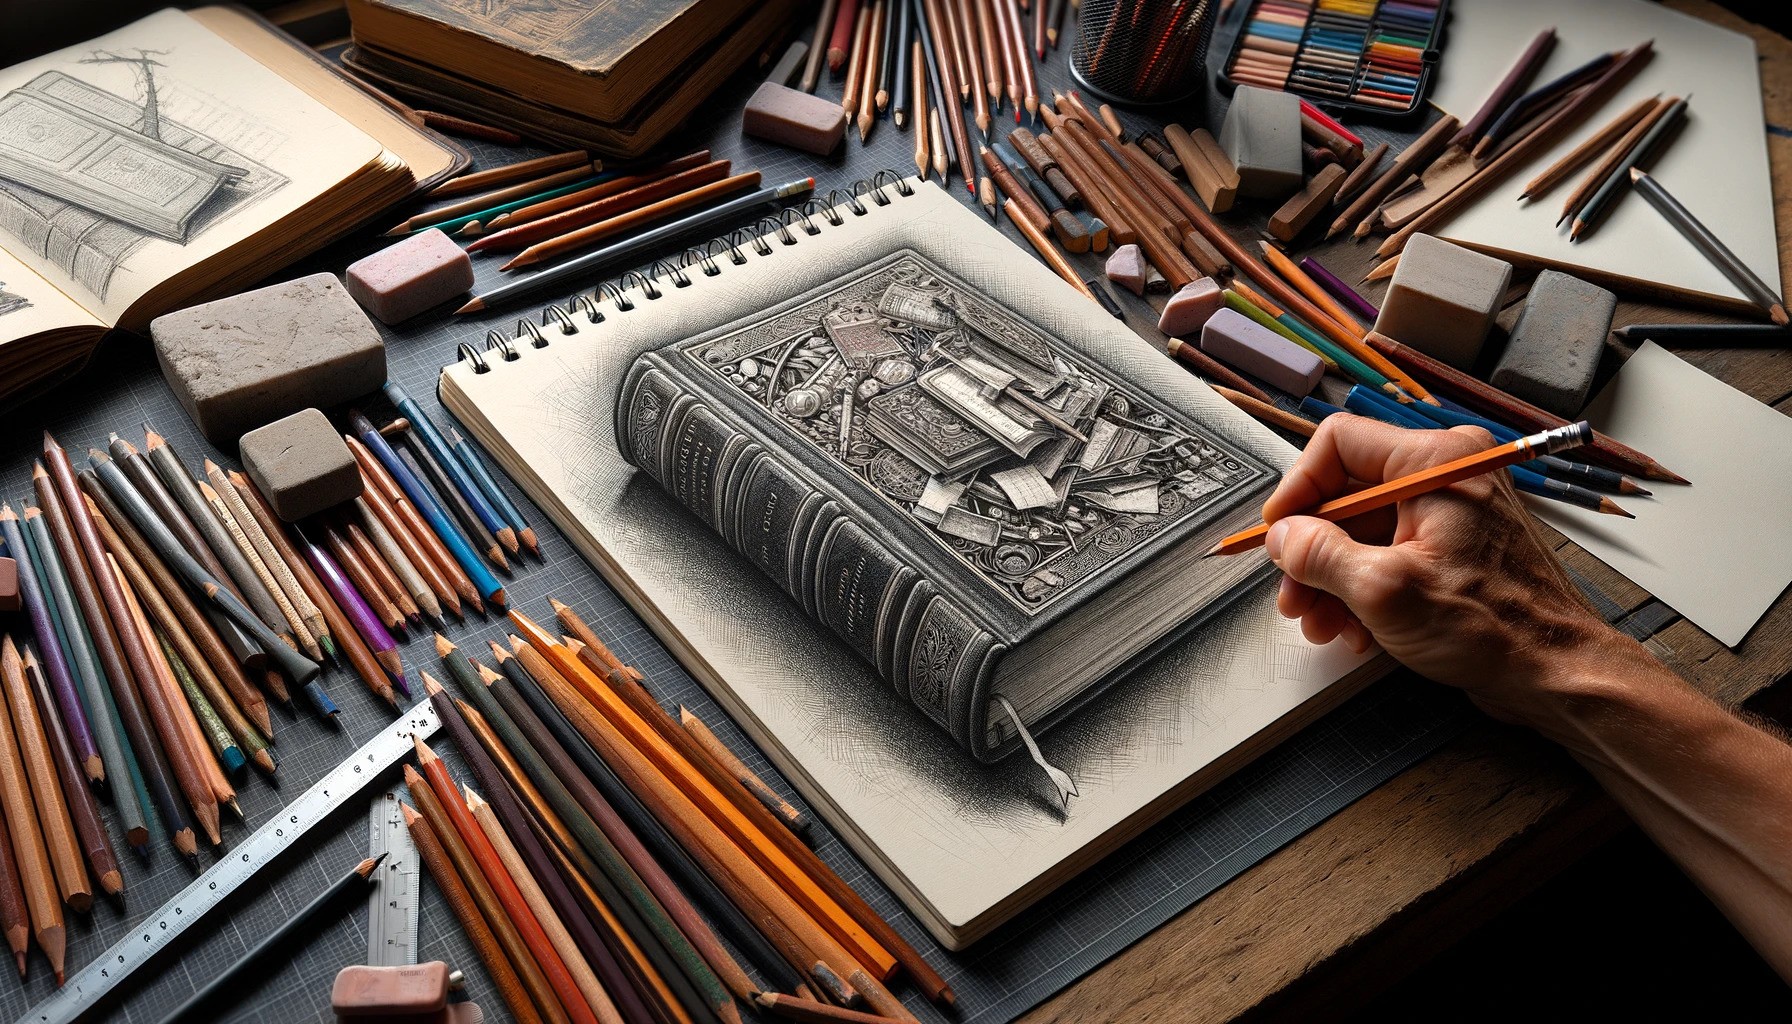
Drawing books can seem daunting at first, but with the right guidance, it becomes a manageable and enjoyable task. This article provides a step-by-step guide on how to draw books in 10 easy steps, ensuring that artists of all skill levels can confidently approach this subject.
Whether you are looking to add books to a still-life composition, create a cozy reading nook scene, or simply enjoy the challenge of drawing something new, this guide is tailored to help you succeed.
A brief introduction
Books are a universal symbol of knowledge, learning, and escapism. Capturing them on paper can add depth to a variety of artistic projects. The task of learning how to draw books can be simplified by breaking it down into easy steps.
This guide not only makes the process accessible but also enjoyable. Whether you are a beginner or an experienced artist, these steps will help you create realistic and visually appealing books.
Materials needed
Before beginning, ensure you have the right materials. You’ll need a pencil, eraser, ruler (for straight lines), and paper. Optionally, you can use colored pencils, markers, or watercolors to add color to your finished drawing.
Tips for Success
- Practice drawing books in different positions and angles to gain a versatile understanding of their structure.
- Experiment with different lighting to see how it affects the shadows and highlights on and around the book.
- Take your time with each step, ensuring accuracy and attention to detail for a more realistic result.
Step 1: Understanding book anatomy
Before you start drawing, familiarize yourself with the basic parts of a book: the cover, spine, and pages. Observing real books can help you understand their structure and proportions.
Step 2: Drawing the basic shape
Begin by drawing a rectangle for the book cover. This will serve as the foundation of your book drawing. The size of the rectangle will depend on the perspective and angle from which you’re drawing the book.
Step 3: Adding the spine
To the left or right side of the rectangle (depending on the book’s orientation), add a thinner rectangle for the spine. Ensure it’s proportional to the cover, mimicking how real books look.
Step 4: Outlining the pages
Inside the cover, draw a series of vertical lines to represent the pages. These lines should be closer together at the top and bottom, and slightly spread out in the middle to create the look of a book that’s slightly opened or used.
Step 5: Creating depth
Add depth to your book by drawing another set of lines parallel to the spine, inside the cover. This creates the illusion of thickness and volume in the book.
Step 6: Detailing the spine
On the spine, you can add details such as the book title, author’s name, or decorative elements depending on the book’s style. This step brings your book to life, making it more realistic.
Step 7: Shading and textures
Using your pencil, add shading to the book cover, spine, and pages to create depth and texture. Consider where the light source is coming from to accurately place shadows and highlights.
Step 8: Adding color (Optional)
If you wish to add color to your drawing, select colors that reflect the book’s actual or imagined cover. Use colored pencils, markers, or watercolors to bring vibrancy to your drawing.
Step 9: Finalizing the details
Review your drawing to add any final details or corrections. This could include more precise shading, texture on the book cover, or additional elements like bookmarks.
Step 10: Background and setting
To place your book in a setting, draw elements around it, such as a table, a reading lamp, or other books. This step is optional but can add context to your drawing, making it more interesting and complete.
Conclusion
Drawing books is an enjoyable and rewarding skill that adds a special touch to various art projects. By following these 10 easy steps, you can confidently draw books that look realistic and detailed. Remember, practice is key to mastering any new skill, so don’t be discouraged by initial challenges.
Keep practicing how to draw books, and you’ll see improvement over time. Whether for educational purposes, leisure, or to enhance your artistic portfolio, drawing books is a valuable skill that offers endless creative possibilities. Also, here are some similar articles that you might find useful:
