Entertainment
How to draw a strawberry: A step-by-step guide

Drawing a strawberry can be a delightful project for artists of all skill levels. Whether you’re a beginner looking to practice your skills or an experienced illustrator aiming to refine your technique, this guide will help you master the art of drawing a realistic strawberry.
With its vibrant color and interesting texture, a strawberry offers a unique challenge that focuses on shape, shading, and detail. Follow this comprehensive tutorial on how to draw a strawberry to add this sweet fruit to your artistic repertoire.
Introduction to drawing a strawberry
A strawberry is not just a popular fruit but also a favorite subject for artists due to its iconic shape and bright, eye-catching color. In botanical illustrations, culinary arts graphics, or even children’s book illustrations, a well-drawn strawberry can add a touch of realism and appeal.
This guide will provide detailed instructions and tips to help you create a beautiful, lifelike strawberry drawing.
Understanding strawberry anatomy
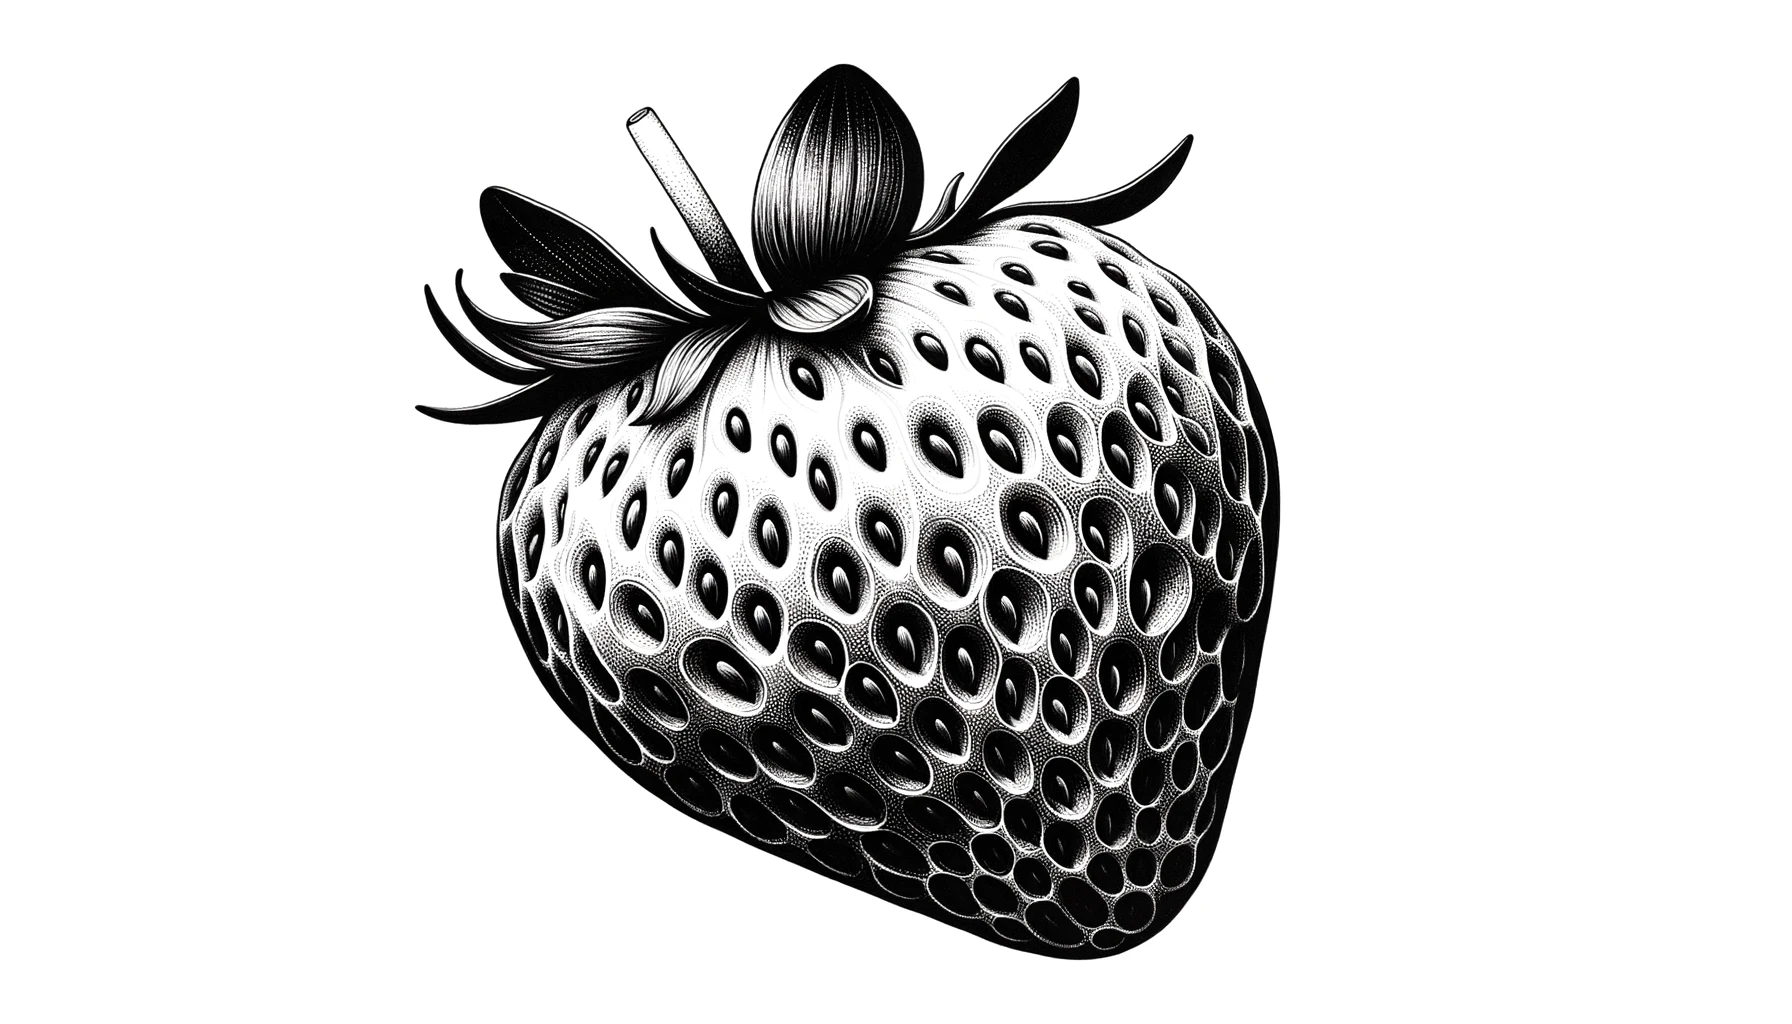
Before starting your drawing, it’s crucial to understand the structure of a strawberry. Unlike other fruits, strawberries have a unique shape and texture:
- Shape: Strawberries typically have a heart-shaped or conical form, rounded at the bottom with a narrowed, slightly curved top.
- Surface: The surface of a strawberry is dotted with numerous small seeds and has a slightly bumpy texture.
- Leaves: The green leafy cap, or calyx, at the top of the strawberry, consists of multiple small leaves that spread outward.
Materials needed
To begin, gather the following materials:
- Pencil
- Eraser
- Drawing paper
- Colored pencils or watercolor paints (optional for coloring)
- Fine-tipped black pen for outlines (optional)
Step-by-step drawing instructions: How to draw a strawberry?
Here is a step-by-step guide on how to draw a strawberry:
Step 1: Sketch the basic shape
Start by lightly sketching the basic outline of the strawberry using a pencil. Aim for a heart-shaped or conical form, depending on the perspective. Keep the lines soft and easy to adjust.
Step 2: Add the leafy cap
At the narrower top end of your strawberry shape, draw the calyx. Sketch small, jagged leaf shapes fanning out from a single point where the stem would be. These leaves should look somewhat like a crown resting on the top of the fruit.
Step 3: Draw the seeds
Position tiny dot-like seeds across the body of the strawberry. Rather than placing them in straight rows, arrange them in a slightly staggered pattern to create a more natural look. Remember, the seeds are slightly indented into the surface, so they should not protrude.
Step 4: Outline and detailing
Once you are satisfied with your sketch, you can go over the pencil lines with a fine-tipped black pen to define the strawberry and its features clearly. This step is optional but can help in preparing the drawing for coloring.
Step 5: Erase pencil marks
Gently erase any visible pencil marks that do not form part of your final drawing. Be careful around the inked lines if you have chosen to outline your drawing.
Step 6: Color your strawberry
Color your strawberry using red for the fruit and green for the leaves. You can use colored pencils, markers, or even watercolor paints. Start with a lighter shade and gradually add darker tones to depict shadows and depth, especially around the seeds and where the fruit curves inward.
Step 7: Add shadows and highlights
For a more realistic effect, add shadows and highlights. Darken areas where shadows naturally occur, such as under the leafy cap and around the seeds. Use a lighter shade, or even white, to add highlights to the topmost surfaces where the light hits the fruit.
Tips for perfecting your strawberry drawing
- Observe real strawberries: If possible, observe real strawberries to get a sense of their true color, shape, and texture.
- Practice different perspectives: Try drawing strawberries from various angles to understand their form better.
- Experiment with textures: Use different techniques to replicate the strawberry’s texture, such as stippling for the seeds and smooth shading for the fruit itself.
Conclusion
Drawing a strawberry can be a fun and rewarding exercise in observing and replicating the intricate details of nature. By following these detailed steps on how to draw a strawberry, you can create vivid, appealing artwork that captures the essence of this beloved fruit.
Whether for personal enjoyment or professional practice, mastering the drawing of a strawberry enhances your artistic skills and adds a vibrant subject to your portfolio. Also, here are some similar articles that you might find useful:
